Introduction
The <img> element in HTML is used to embed images in a web page. It allows you to include images from local files or remote sources. The <img> element is self-closing, meaning it doesn’t have a closing tag.
Here is an example :
<!DOCTYPE html>
<html lang="en">
<head>
    <meta charset="UTF-8">
    <meta name="viewport" content="width=device-width, initial-scale=1.0">
    <title>Document</title>
</head>
<body>
    <img src="img2.jpg" alt="Description of the image" width="100%">
</body>
</html>
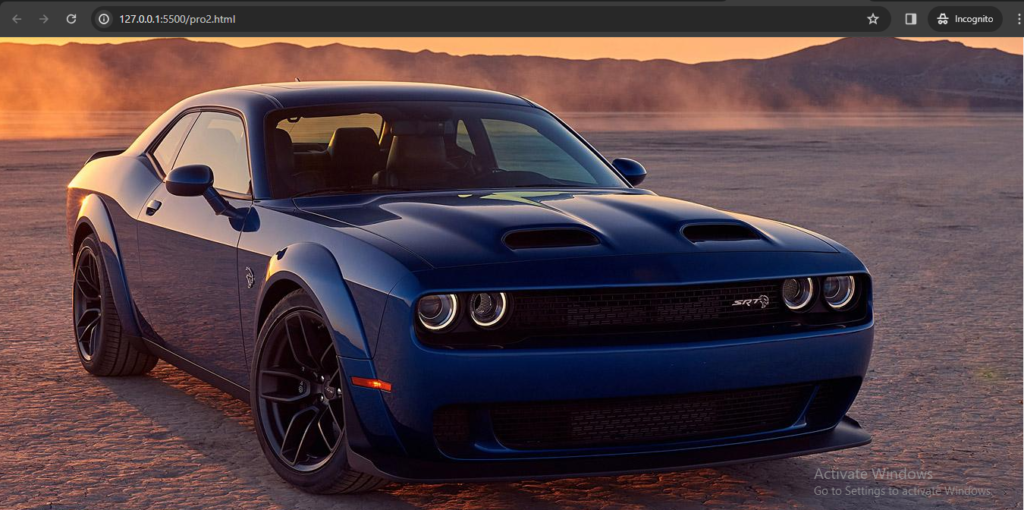
Output :

In this example:
- The
srcattribute specifies the source URL or file path of the image. - The
altattribute provides alternative text for the image. This text is displayed if the image cannot be loaded and is also used by screen readers for accessibility.
Additional attributes commonly used with the <img> element:
widthandheight: Specify the width and height of the image in pixels.- <img src=”example.jpg” alt=”Description” width=”300″ height=”200″>
style: Apply inline CSS styles to the image.- <img src=”example.jpg” alt=”Description” style=”border: 1px solid #ccc;”>
classandid: Assign CSS classes or IDs to the image for styling or scripting purposes.- <img src=”example.jpg” alt=”Description” class=”image-style” id=”unique-image”>
- Responsive Images: Use the
max-width: 100%;style to make images responsive within their containers.- <img src=”example.jpg” alt=”Description” style=”max-width: 100%;”>
Make sure to provide meaningful alternative text (alt attribute) for images to enhance accessibility and ensure a good user experience, especially for users with visual impairments or when images cannot be loaded.
