<html> : HTML Document / Root element

Introduction

The <html> element in HTML serves as the root element of an HTML document. It encompasses the entire content of the document and provides the structural foundation for organizing and marking up the content. Here’s a basic example of an HTML document structure:

Key points about the <html> element:

  1. Document Structure: The <html> element contains all the content of an HTML document, including the <head> and <body> elements.
  2. DOCTYPE Declaration: The <!DOCTYPE html> declaration at the beginning specifies the HTML version being used. In this case, it’s HTML5.
  3. Language Attribute: The lang attribute in the <html> tag is used to specify the language of the document. It helps browsers and search engines understand the language context.
  4. Head and Body Sections: Inside the <html> element, you have two main sections:
    • <head>: Contains meta-information about the document, such as character encoding, viewport settings, and the document title.
    • <body>: Contains the main content of the document, including text, images, links, and other elements.
  5. Character Encoding: The <meta charset="UTF-8"> tag within the <head> section specifies the character encoding used in the document. UTF-8 is widely used and supports a wide range of characters.
  6. Viewport Meta Tag: The <meta name="viewport" content="width=device-width, initial-scale=1.0"> tag in the <head> section is commonly used for responsive design, ensuring the document adapts to different screen sizes.
  7. Title Element: The <title> element within the <head> section sets the title of the HTML document, which is displayed in the browser’s title bar or tab.

The <html> element is crucial for creating a well-structured HTML document. It defines the overall structure, character encoding, language, and other essential aspects of the document that contribute to its proper interpretation by browsers and other web technologies.

<hr> : The Thematic Break (Horizontal Rule) element

Introduction

The <hr> element in HTML is used to create a thematic break or a horizontal rule. It is a self-closing tag, meaning it doesn’t have a closing tag, and it is used to visually separate content within a document. The horizontal rule is often displayed as a horizontal line across the width of its containing element.

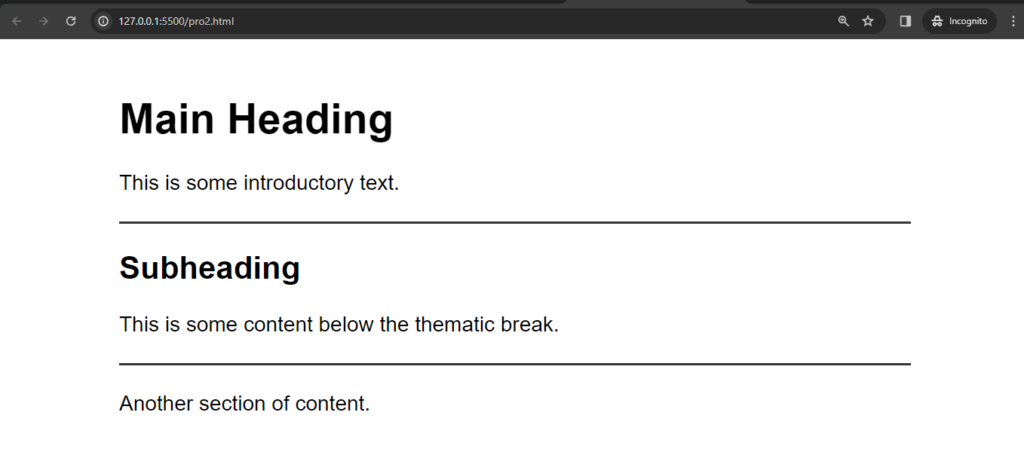
Here’s a simple example:

Output :

In this example, the <hr> element creates a horizontal line, visually separating the text before and after it.

Key points about the <hr> element:

1. Thematic Break: It is primarily used as a thematic break, indicating a shift in the content or a separation between different sections.

2. Visual Representation: It creates a visible line or rule on the webpage to enhance the document’s visual structure.

3. Default Styling: Browsers typically render <hr> with a line across the full width of its containing element. The appearance can be customized using CSS.

4. Self-Closing Tag: <hr> is a self-closing tag, meaning it doesn’t have a closing tag (</hr>).

5. Attributes: The <hr> element doesn’t have many attributes. Commonly used attributes include width, size, and color, though these are considered deprecated in HTML5 in favor of CSS styling.

Example with deprecated attributes:

Modern CSS styling is preferred for controlling the appearance of the horizontal rule:

In practice, the <hr> element is often used to visually break up content or to indicate a transition between different parts of a webpage. It is a straightforward way to add a horizontal line without using additional structural elements.

<header> : The Header element

Introduction

The <header> element in HTML is used to define a header section for a document or a specific section within the document. It typically contains introductory content, navigation links, logos, headings, and other elements that are considered as the heading or introductory part of a page or section.

Here is an example :

Output :

In this example:

  • The <header> element contains an <h1> heading for the main title of the page and a navigation menu (<nav>) with a list of links.
  • The <nav> element within the header is commonly used to group navigation links.

Key points about the <header> element:

  1. Introductory Content: It typically contains content that introduces the main purpose or topic of the webpage or section.
  2. Heading Elements: It often includes heading elements like <h1> for the main title or other heading levels for subheadings.
  3. Navigation: The <header> is a common location for navigation menus or links, helping users navigate to different sections of the site.
  4. Logos and Branding: Logos and branding elements are often placed within the <header> to establish the visual identity of the website.
  5. Accessibility: The use of semantic elements like <header> contributes to better accessibility, making it easier for screen readers and other assistive technologies to interpret and navigate the content.

Remember that the <header> element is not limited to the top of the page; it can also be used within specific sections to define headers for those sections. It’s a versatile element that helps structure and organize the content of a webpage.

<head> : Document Metadata (Header) element

Introduction


The <head> element in HTML is used to define the metadata or header information of a document. This section doesn’t represent the content of the page that users see but contains crucial information for browsers, search engines, and other web services. It includes elements such as <title>, <meta>, <link>, <style>, <script>, and more.

Here is an example :

Key components within the <head> element:

  1. <meta charset="UTF-8">: Specifies the character encoding for the document. UTF-8 is widely used for handling various character sets.
  2. <meta name="viewport" content="width=device-width, initial-scale=1.0">: Sets the viewport properties for responsive design. It ensures the page scales properly on different devices.
  3. <title>: Defines the title of the document, which appears in the browser’s title bar or tab.
  4. <link> (Stylesheet Link): Links an external CSS file to style the document. This can also be used for linking other resources, like favicons.
  5. <script> and <style>: These elements can be placed in the <head> section to include JavaScript and CSS directly in the document.
  6. Other Metadata: The <head> element can contain various other metadata elements, such as <meta> tags for keywords, description, author, or specifying the preferred language.

Including these elements in the <head> section helps browsers and search engines understand and render the page properly. It’s important for both the functionality and the appearance of the webpage.

Remember that while the <head> section doesn’t directly display content to users, it plays a crucial role in providing information about the document’s structure, encoding, and resources.

<h1>–<h6> : HTML Section Heading elements

Introduction


The <h1> to <h6> elements in HTML represent headings of different levels, where <h1> is the highest level and <h6> is the lowest. These elements are used to structure the content of a webpage hierarchically, with <h1> representing the main heading or title and <h6> being a subheading of the lowest level.

Here is an example :

Output :

Key points about the HTML section heading elements:

  1. Hierarchy: The heading elements create a hierarchical structure on the webpage, with <h1> being the top-level heading and <h6> being the lowest level.
  2. Semantic Meaning: Each heading level conveys a different level of importance and significance. <h1> is typically used for the main title or heading of a page, while <h2> to <h6> are used for subheadings, with decreasing levels of importance.
  3. SEO and Accessibility: Search engines and screen readers use the heading structure to understand the organization of content. Proper use of heading elements enhances SEO (Search Engine Optimization) and accessibility.
  4. Styling: Browsers typically render heading elements with different font sizes and styles, making it easy for users to visually identify the hierarchy of headings on a page. Developers can further customize the appearance through CSS.
  5. Logical Structure: Headings contribute to the logical structure of a document, aiding both developers and users in understanding the content’s organization.

It’s important to use heading elements appropriately to ensure a well-structured and semantically meaningful document. The choice of heading level should reflect the content’s hierarchical structure and convey its importance accurately.

<form> : Form element

Introduction

The <form> element in HTML is used to create an interactive form on a web page. Forms are a crucial part of web development and are used for collecting and submitting user input, such as text, numbers, checkboxes, radio buttons, and more. The <form> element provides a container for organizing and structuring form controls.

Here’s a basic example of a simple form:

Output :

In this example:

  • The <form> element contains various form controls such as text inputs and a submit button.
  • The action attribute specifies the URL to which the form data will be sent when submitted.
  • The method attribute defines the HTTP method (e.g., GET or POST) used for form submission.

Key points about the <form> element:

  1. Form Controls: It contains various form controls like text inputs, checkboxes, radio buttons, select boxes, and more, allowing users to input information.
  2. Action Attribute: Specifies the URL or script that will process the form data when it is submitted. This is typically a server-side script.
  3. Method Attribute: Defines the HTTP method used for form submission. The two common methods are GET (default) and POST. GET is used for requesting data from a specified resource, while POST is used for submitting data to be processed to a specified resource.
  4. Label Elements: It’s good practice to use <label> elements associated with form controls using the for attribute. This improves accessibility and usability.
  5. Required Attribute: The required attribute on form controls indicates that the user must fill in that particular field before submitting the form.
  6. Submit Button: The <input type="submit"> or <button type="submit"> element is used to create a button that, when clicked, submits the form.

Forms are crucial for various web applications, user authentication, data collection, and more. They facilitate user interaction by allowing users to provide input and interact with the website or application.

Developers often use JavaScript to enhance the interactivity of forms and validate user input on the client side before submitting the data to the server.

<footer> : Footer element

Introduction

The <footer> element in HTML is used to represent the footer of a section or page. It typically contains metadata, copyright information, contact details, links to related documents, or other information relevant to the enclosing section or the entire document.

Here is an example :

Output :

In this example, the blue colour section is footer section.

Key points about the <footer> element:

1. Metadata and Attribution: It is commonly used to include metadata, copyright information, or attribution details for the content on the webpage.

2. Contact Information: It may include contact details, such as an email address or a link to a contact form.

3. Navigation Links: It might contain links to related documents or sections within the website.

4. Semantic Structure: It contributes to the semantic structure of the HTML document, making it clear that the enclosed content represents the footer of a section or the entire page.

5. Accessibility: Screen readers and other assistive technologies can use the <footer> element to provide additional context to users.

While the <footer> element is commonly used at the bottom of a page, it can also be used within other sections to represent the footer for a specific part of the content. For example, a <footer> within an <article> or a <section> can contain information specific to that article or section.

In summary, <footer> is a versatile element that helps structure and provide relevant information at the bottom of a webpage or within specific sections.

<figure> : Figure with Optional Caption element

Introduction

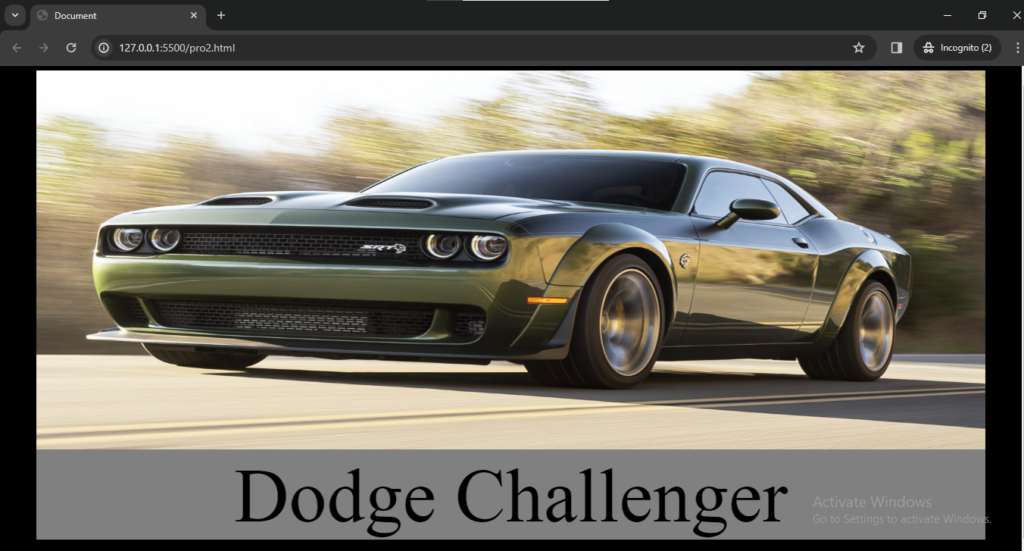
The <figure> element represents self-contained content, potentially with an optional caption, which is specified using the <figcaption> element. The figure, its caption, and its contents are referenced as a single unit.

Here’s a simple example:

Output :

In this example:

  • The <figure> element contains an <img> element representing an image.
  • The optional <figcaption> element provides a caption for that image.

Key points about the <figure> element:

1. Grouping Content: It is used to group together related content that should be treated as a single unit.

2. Accessibility: When used with <figcaption>, it helps provide additional context or information about the content for accessibility purposes.

3. Media Content: It’s commonly used with images, videos, audio, diagrams, and other types of multimedia content.

4. Optional <figcaption>: While <figcaption> is optional, when included, it typically follows the content within <figure> to provide a caption for that content.

5. Multiple <figure> Elements: A document can contain multiple <figure> elements, each encapsulating different pieces of content.

The use of <figure> and <figcaption> provides a way to structure content in a semantically meaningful manner, making it clear that certain content and its caption are related. This can enhance both the visual presentation and the accessibility of the content on the web.

<figcaption> : Figure Caption element

Introduction

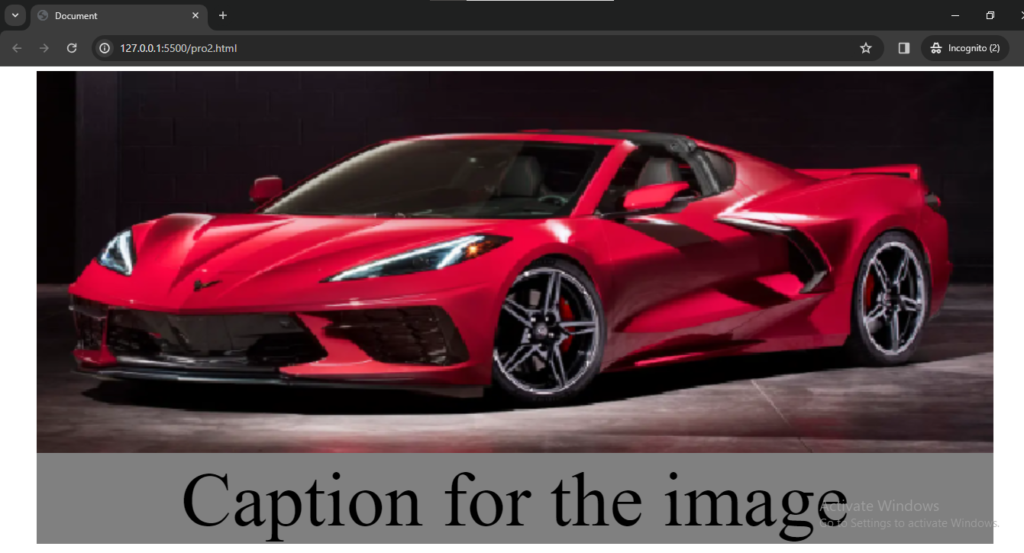
The <figcaption> element in HTML is used to provide a caption or description for the content inside a <figure> element. The <figure> and <figcaption> elements are commonly used together to associate a caption with an image, diagram, video, or other content.

Here’s an example of how <figcaption> is used with <figure>:

Output :

In this example:

  • The <figure> element contains an <img> element representing an image.
  • The <figcaption> element provides a caption for that image.

Key points about the <figcaption> element:

1. Association with <figure>: It is typically used inside a <figure> element to provide a caption for the content within that figure.

2. Accessible Content: The caption inside <figcaption> is often used to provide additional context or information about the content, enhancing accessibility for users.

3. Multiple <figcaption> Elements: A single <figure> element can have multiple <figcaption> elements, each providing a caption for a specific piece of content within the figure.

4. Other Types of Content: While commonly used with images, <figcaption> can also be used with other types of content inside <figure>, such as videos, diagrams, or code snippets.

The combination of <figure> and <figcaption> provides a semantically meaningful way to associate captions with various types of content, making web documents more accessible and enhancing the user experience.

<fieldset> : Field Set element

Introduction

The <fieldset> element in HTML is used to group related elements within a form and create a visual separation or a border around them.

It is often used in conjunction with the <legend> element, which provides a title or caption for the group of form controls enclosed by the <fieldset>.

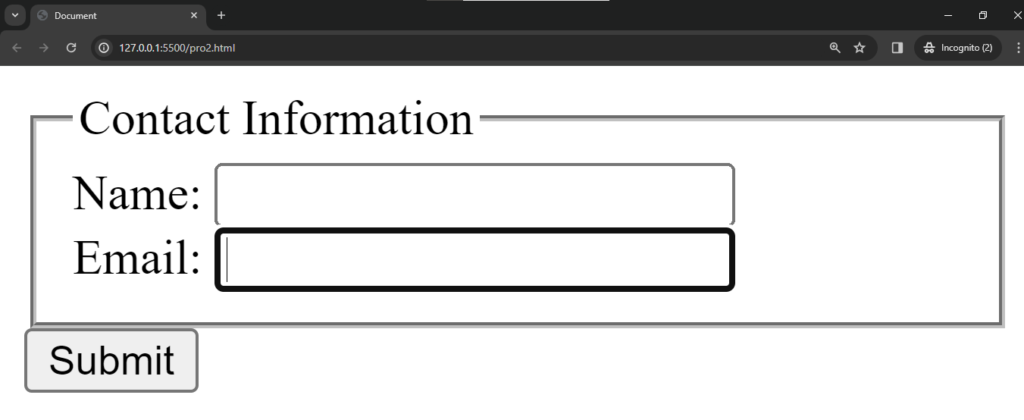
Here is an example :

Output :

In this example, the form controls for “Name” and “Email” are grouped within a <fieldset>, and the <legend> element provides a title (“Contact Information”) for that group. The <fieldset> helps to visually organize and group related form elements, making the form more accessible and user-friendly.

Key points about the <fieldset> element:

  1. Visual Grouping: It is commonly used to group related form controls together and visually separate them from other parts of the form.
  2. Accessibility: It improves the accessibility of the form by providing a semantic grouping for assistive technologies. Screen readers can announce the legend text to provide context to users.
  3. Styling: Developers can apply styles to the <fieldset> to enhance the visual appearance of the grouped form controls.
  4. Form Organization: It’s particularly useful when a form has multiple sections or categories of information.
  5. Use with <legend>: The <legend> element is often used inside a <fieldset> to provide a title or description for the group of form controls.

In summary, <fieldset> is a helpful HTML element for structuring and organizing forms, especially when dealing with multiple related form controls. It enhances both the visual design and the accessibility of the form.