The ‘<colgroup>‘ element in HTML is used to group a set of ‘<col>‘ elements that collectively define the properties for columns within a table.
It provides a way to apply common styling or attributes to multiple columns, making the code more concise and maintainable. The ‘<colgroup>‘ element is often placed as a child of the ‘<table>‘ element.
Here is an example :
<!DOCTYPE html>
<html lang="en">
<head>
    <meta charset="UTF-8">
    <meta name="viewport" content="width=device-width, initial-scale=1.0">
    <title>Table with Col Element</title>
    <style>
        /* Apply styles to the first column */
        col:first-child {
            background-color: #f2f2f2;
        }
        /* Apply styles to the second column */
        col:nth-child(2) {
            background-color: #e0e0e0;
        }
        /* Apply styles to the third column */
        col:nth-child(3) {
            background-color: #d2d2d2;
        }
        /* Apply common styles to all columns */
        col {
            padding: 10px;
            text-align: center;
            border: 1px solid #ccc;
        }
    </style>
</head>
<body>
    <table border="1">
        <colgroup>
            <col> <!-- First Column -->
            <col> <!-- Second Column -->
            <col> <!-- Third Column -->
        </colgroup>
        <tr>
            <td>Row 1, Col 1</td>
            <td>Row 1, Col 2</td>
            <td>Row 1, Col 3</td>
        </tr>
        <tr>
            <td>Row 2, Col 1</td>
            <td>Row 2, Col 2</td>
            <td>Row 2, Col 3</td>
        </tr>
    </table>
</body>
</html>
Output :
This usage of ‘<colgroup>‘ can make the HTML code cleaner and more organized, especially when dealing with large tables where column styling or attributes need to be applied consistently.
The ‘<col>‘ HTML element defines a column within a table and is used for defining common semantics on all common cells. It is generally found within a ‘<colgroup>‘ element.
‘<col>‘ allows styling columns using CSS, but only a few properties will have an effect on the column.
Here is an example :
<!DOCTYPE html>
<html lang="en">
<head>
    <meta charset="UTF-8">
    <meta name="viewport" content="width=device-width, initial-scale=1.0">
    <title>Table with Col Element</title>
    <style>
        /* Apply styles to the first column */
        col:first-child {
            background-color: #f2f2f2;
        }
        /* Apply styles to the second column */
        col:nth-child(2) {
            background-color: #e0e0e0;
        }
        /* Apply styles to the third column */
        col:nth-child(3) {
            background-color: #d2d2d2;
        }
        /* Apply common styles to all columns */
        col {
            padding: 10px;
            text-align: center;
            border: 1px solid #ccc;
        }
    </style>
</head>
<body>
    <table border="1">
        <colgroup>
            <col> <!-- First Column -->
            <col> <!-- Second Column -->
            <col> <!-- Third Column -->
        </colgroup>
        <tr>
            <td>Row 1, Col 1</td>
            <td>Row 1, Col 2</td>
            <td>Row 1, Col 3</td>
        </tr>
        <tr>
            <td>Row 2, Col 1</td>
            <td>Row 2, Col 2</td>
            <td>Row 2, Col 3</td>
        </tr>
    </table>
</body>
</html>
Output :
Uses of <col> tag :
Here are some uses of <col> tag :
1. Applying Styles to Columns : You can use the ‘<col>‘ element to apply specific styles, such as background colors, borders, or text alignment, to individual columns or groups of columns.
2. Setting Column Widths : You can use the width attribute to specify the width of a column. This is useful when you want to control the width of specific columns in the table.
4. Defining Column Attributes: You can use the ‘<col>‘ element to define various attributes for columns, such as class or id, making it easier to select and style specific columns with CSS or JavaScript.
By using the ‘<col>‘ element along with the ‘<colgroup>‘, you can enhance the structure and styling of your HTML tables, making them more flexible and maintainable.
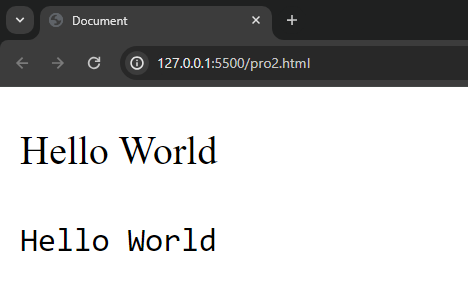
The ‘<code>‘ element in HTML is used to define a piece of code within the text. The purpose of the <code> element is to distinguish code from the surrounding text and to ensure that it is displayed in a monospaced or fixed-width font, which is a common convention for code.
The ‘<code>‘ element is useful for marking up inline code snippets, making them visually distinct from the surrounding text, and indicating to browsers that the content should be displayed in a fixed-width font.
The ‘<cite>‘ element in HTML is used to reference the title of a creative work or the name of its author. It is commonly used to mark the title of a book, article, song, movie, or any other piece of content that needs to be cited or referenced. The purpose of the ‘<cite>‘ element is to provide semantic meaning to the text it encloses, indicating that it represents the title of a work.
Here’s a simple example of how to use the ‘<cite>‘ element :
<!DOCTYPE html>
<html lang="en">
<head>
<meta charset="UTF-8">
<meta name="viewport" content="width=device-width, initial-scale=1.0">
<title>Document</title>
</head>
<body>
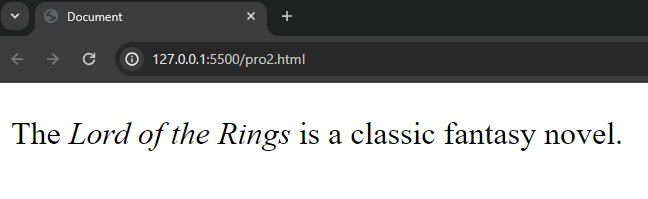
<p>The <cite>Lord of the Rings</cite> is a classic fantasy novel.</p>
</body>
</html>
Output :
In this example, the ‘<cite>‘ element is used to mark the title of the book “The Lord of the Rings.” Keep in mind that the ‘<cite>‘ element does not automatically apply any styling; it is primarily a semantic element, and you may need to use CSS to style it according to your design preferences.
It’s important to note that while the ‘<cite>‘ element is commonly used for titles, it is not restricted to them. It can also be used to cite the name of an author or the source of a quotation. For example:
<!DOCTYPE html>
<html lang="en">
<head>
<meta charset="UTF-8">
<meta name="viewport" content="width=device-width, initial-scale=1.0">
<title>Document</title>
</head>
<body>
<blockquote>
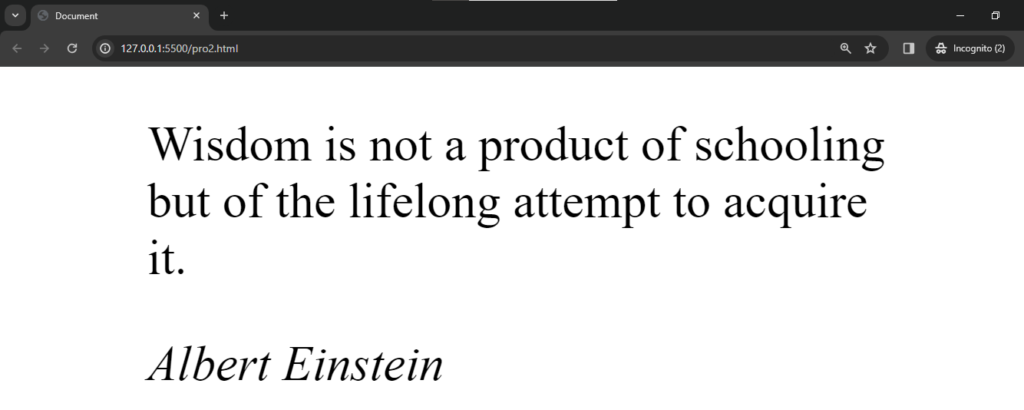
<p>Wisdom is not a product of schooling but of the lifelong attempt to acquire it.</p>
<footer><cite>Albert Einstein</cite></footer>
</blockquote>
</body>
</html>
Output :
In this example “Albert Einstein” is written in ‘<cite>‘ tag. So it appears different from the others.
Remember that while the ‘<cite>‘ element adds semantic meaning, it does not automatically apply any styling. You may need to use CSS to style it according to your design preferences. Additionally, it’s essential to use the ‘<cite>‘ element appropriately based on the specific context of your content.
uses of <cite> tag :
Here are some uses of <cite> tag :
1. Citing Titles of Works : The ‘<cite>‘ element is used to mark the title of the book , newspaper etc.
Example :
<!DOCTYPE html>
<html lang="en">
<head>
    <meta charset="UTF-8">
    <meta name="viewport" content="width=device-width, initial-scale=1.0">
    <title>Document</title>
</head>
<body>
    <p>I recently read <cite>The Great Gatsby</cite> by F. Scott Fitzgerald.</p>
</body>
</html>
2. Citing Author Names : The ‘<cite>‘ element is used to cite the name of the author.
Example :
<!DOCTYPE html>
<html lang="en">
<head>
    <meta charset="UTF-8">
    <meta name="viewport" content="width=device-width, initial-scale=1.0">
    <title>Document</title>
</head>
<body>
    <p>This article was written by <cite>Jane Doe</cite>.</p>
</body>
</html>
3. Citing Source of Quotations : The ‘<cite>‘ element is used to cite the author of the quoted statement.
Example :
<!DOCTYPE html>
<html lang="en">
<head>
    <meta charset="UTF-8">
    <meta name="viewport" content="width=device-width, initial-scale=1.0">
    <title>Document</title>
</head>
<body>
    <blockquote>
        <p>"To be yourself in a world that is constantly trying to make you something else is the greatest accomplishment."</p>
        <footer><cite>Ralph Waldo Emerson</cite></footer>
    </blockquote>
</body>
</html>
4. Citing Reference Links : The ‘<cite>‘ element can be used to cite the source of a reference link, helping users understand the origin of the linked content.
Example :
<!DOCTYPE html>
<html lang="en">
<head>
    <meta charset="UTF-8">
    <meta name="viewport" content="width=device-width, initial-scale=1.0">
    <title>Document</title>
</head>
<body>
    <p>For more information, refer to the official documentation on <cite><a href="https://learncodingself.com/">learncodingself.</a></cite>.</p>
</body>
</html>
5. Marking Technical Terms or Code : The ‘<cite>‘ element is used to cite the source of information .
Example :
<!DOCTYPE html>
<html lang="en">
<head>
    <meta charset="UTF-8">
    <meta name="viewport" content="width=device-width, initial-scale=1.0">
    <title>Document</title>
</head>
<body>
    <p>The `<code>print()</code>` function is used to display output in many programming languages.</p>
<p>For more details, see the documentation on <cite><a href="https://www.geeksforgeeks.org/printf-in-c/">print function</a></cite>.</p>
</body>
</html>
The ‘<center>‘ element was used in older versions of HTML to define a block of content that should be centered horizontally within its containing element. It was typically used to center-align text or other inline or block-level elements.
However, the ‘<center>‘ element has been deprecated in HTML5, and its usage is discouraged. Modern web development encourages the use of CSS for styling and layout purposes.
The ‘<caption>‘ element in HTML is used to define a caption for a ‘<table>‘. It provides a title or explanation for the content within the table, and it typically appears above the table. The ‘<caption>‘ element should be placed immediately after the opening ‘<table>‘ tag and before the first ‘<tr>‘ (table row) or other table-related elements.
Here’s a simple example of how to use the <caption> element in HTML :
In this ‘Employee Information‘ is the caption of the table.
Uses of <caption> tag :
Here are some common uses and benefits of the ‘<caption>‘ element :
1. Table Description : The primary use of <caption> is to provide a concise and meaningful description or title for the entire table. This helps users, including those using screen readers or other assistive technologies, understand the purpose or content of the table.
2. Accessibility : For users who rely on screen readers, the ‘<caption>‘ element provides a way to programmatically associate a title with a table. This makes the table more accessible and provides context to users with visual impairments.
3. Table Structure Clarification : In complex tables with multiple sections, headers, or footers, a ‘<caption>‘ can clarify the overall structure of the table and guide users in understanding how the different parts relate to each other.
4. Styling and Positioning : The <caption> element can be styled differently from the rest of the table content, making it visually distinct. This allows designers to apply specific styles to the caption, such as font size, color, or alignment, to enhance the overall presentation.
5. Table SEO (Search Engine Optimization) : Including a ‘<caption>‘ with relevant keywords can contribute to better search engine optimization. Search engines may use the content of the caption to understand the context and relevance of the table data.
6. Screen Reader Navigation : Screen reader users can navigate directly to the table caption, allowing them to quickly access information about the table’s purpose before exploring the detailed content.
Remember that while the ‘<caption>‘ element is beneficial, it’s not mandatory. However, including it is considered good practice for creating well-structured and accessible HTML tables.
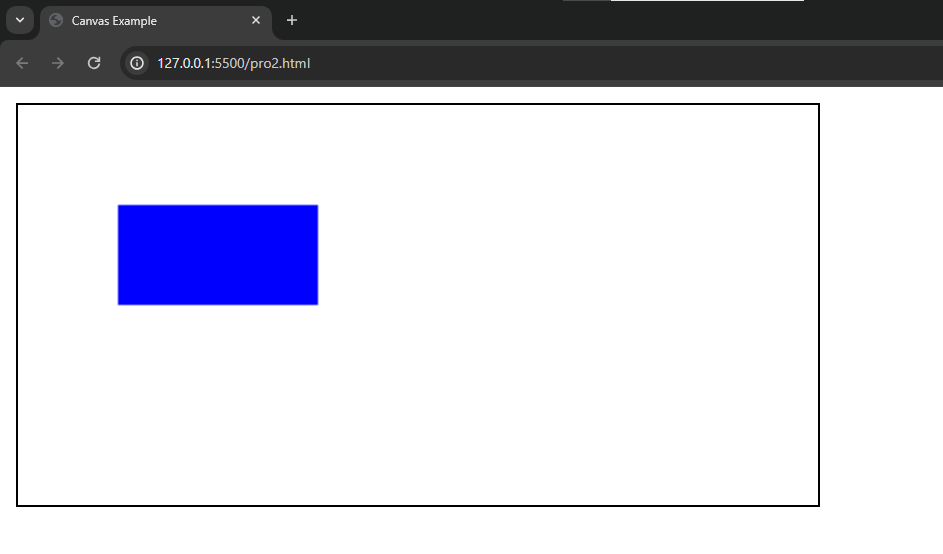
The ‘<canvas>‘ element is an HTML element that provides a space for drawing graphics using JavaScript. It is a part of the HTML5 specification and allows for dynamic, scriptable rendering of 2D and 3D graphics. The ‘<canvas>‘ element itself doesn’t draw anything; instead, it provides a drawing context that can be used by JavaScript to create and manipulate graphics.
Here is a basic example of how to use the ‘<canvas>‘ element :
<!DOCTYPE html>
<html lang="en">
<head>
    <meta charset="UTF-8">
    <meta name="viewport" content="width=device-width, initial-scale=1.0">
    <title>Canvas Example</title>
    <style>
        /* Add some styling to the canvas */
        canvas {
            border: 1px solid #000;
        }
    </style>
</head>
<body>
    <!-- Canvas element -->
    <canvas id="myCanvas" width="400" height="200"></canvas>
    <script>
        // Get the canvas element and its drawing context
        var canvas = document.getElementById('myCanvas');
        var ctx = canvas.getContext('2d');
        // Draw a rectangle on the canvas
        ctx.fillStyle = 'blue';
        ctx.fillRect(50, 50, 100, 50);
    </script>
</body>
</html>
Output :
Uses of <canvas> tag :
Here are some common uses of the ‘<canvas>‘ element :
Drawing Graphics : The primary purpose of the ‘<canvas>‘ element is to provide a drawing surface for JavaScript to create graphics. You can draw shapes, paths, text, and images on the canvas using various methods provided by the 2D or 3D rendering contexts.
Charts and Graphs : Canvas is frequently used to create dynamic charts and graphs for data visualization. Libraries like Chart.js and D3.js leverage the canvas element to draw and update charts based on changing data.
Animations : Canvas is well-suited for creating animations. By updating the content of the canvas in rapid succession, you can create smooth animations. This is often used in games, interactive websites, and other multimedia applications.
Image Editing : Canvas allows for pixel-level manipulation, making it suitable for image editing applications. You can load an image onto the canvas and apply various filters or modifications.
Interactive Games : Canvas is commonly used in web game development. Game developers use the canvas element to create game environments, sprites, and handle user input for interactive gameplay.
Drawing Tools : Online drawing and sketching applications often use the canvas element to provide users with a platform for creating digital artwork. The canvas allows for real-time drawing interactions.
Diagramming and Flowcharts : Canvas can be employed to create dynamic diagrams and flowcharts. Users can draw and connect elements, and the canvas can update in response to user interactions.
Custom User Interfaces : Canvas can be used to create custom user interfaces with complex and interactive elements that go beyond standard HTML controls. This is useful for creating unique and engaging user experiences.
Augmented Reality (AR) and Virtual Reality (VR) : For more advanced use cases, canvas can be part of creating AR and VR experiences on the web by rendering 3D graphics or interacting with the user’s environment.
Signature Capture : Canvas is often used in web applications for capturing digital signatures. Users can draw their signatures on the canvas, and the resulting image can be saved or processed as needed.
The ‘<button>‘ element used to create clickable buttons on a web page. It is part of the HTML forms and is commonly used in conjunction with JavaScript to create interactive user interfaces. The ‘<button>‘ element can contain text, images, or other HTML elements, and it can trigger actions or events when clicked.
Buttons can also be styled using CSS to enhance their appearance and match the overall design of a webpage.
Uses of <button> tag :
The ‘<button>‘ element is a versatile element that can be used for various purposes on a web page. Here are some common uses of the ‘<button>‘ element:
1. Form Submission : Used as a submit button within HTML forms to submit form data to a server.
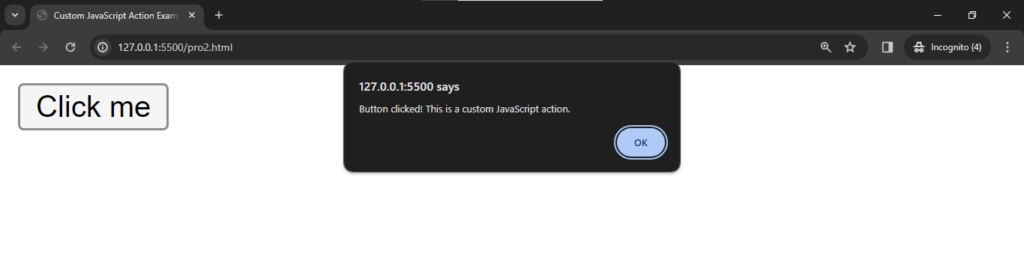
3. Custom JavaScript Actions : Used to create buttons that trigger custom JavaScript functions or actions without submitting a form.
Syntax : ‘<button type=”button”>‘.
Example :
<!DOCTYPE html>
<html lang="en">
<head>
    <meta charset="UTF-8">
    <meta name="viewport" content="width=device-width, initial-scale=1.0">
    <title>Custom JavaScript Action Example</title>
</head>
<body>
    <!-- Your button with custom JavaScript action -->
    <button type="button" onclick="myCustomFunction()">Click me</button>
    <script>
        // Define a JavaScript function to be called when the button is clicked
        function myCustomFunction() {
            alert("Button clicked! This is a custom JavaScript action.");
            // You can perform additional actions here
        }
    </script>
</body>
</html>
Output :
When we click on the button alert message is given.
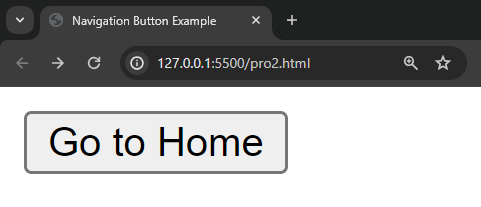
4. Navigation :‘<button>‘ elements can be used to create navigation buttons that take users to different pages or sections of a website.
Example :
<!DOCTYPE html>
<html lang="en">
<head>
    <meta charset="UTF-8">
    <meta name="viewport" content="width=device-width, initial-scale=1.0">
    <title>Navigation Button Example</title>
</head>
<body>
    <!-- Your navigation button -->
    <button type="button" onclick="navigateToHome()">Go to Home</button>
    <script>
        // Define a JavaScript function for navigation
        function navigateToHome() {
            // Replace the URL with the desired destination
            window.location.href = '/home';
        }
    </script>
</body>
</html>
Output :
And when we click on the button we go to home page of the website.
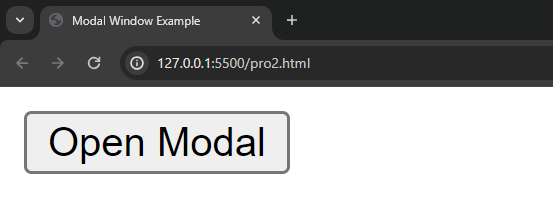
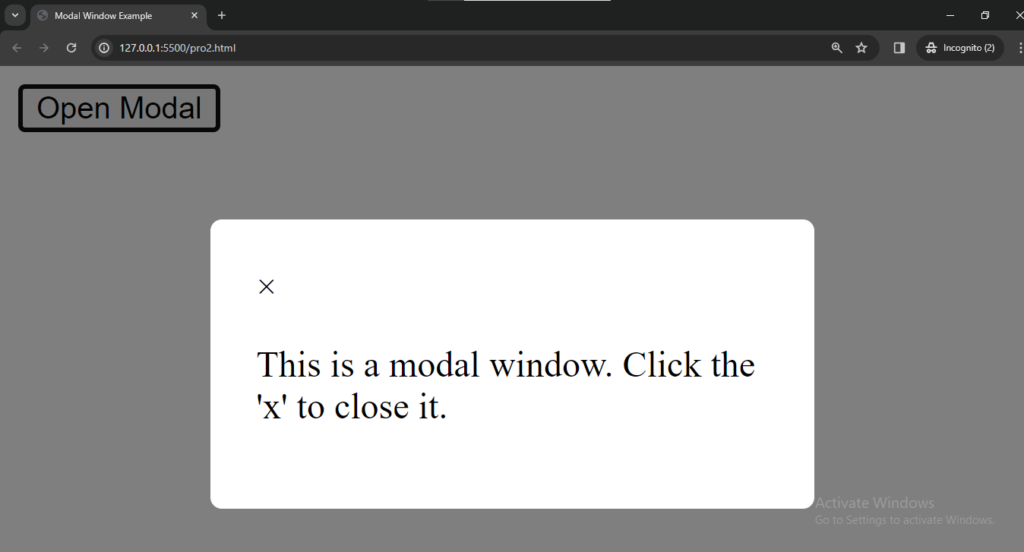
5. Modal Windows/Dialogs :‘<button>‘ elements are often used to trigger the display of modal windows or dialogs.
Example :
<!DOCTYPE html>
<html lang="en">
<head>
<meta charset="UTF-8">
<meta name="viewport" content="width=device-width, initial-scale=1.0">
<title>Modal Window Example</title>
<style>
/* Style for the modal */
#myModal {
display: none;
position: fixed;
z-index: 1;
left: 0;
top: 0;
width: 100%;
height: 100%;
overflow: auto;
background-color: rgba(0, 0, 0, 0.5);
}
/* Style for the modal content */
.modal-content {
position: relative;
margin: 15% auto;
padding: 20px;
width: 50%;
background-color: #fff;
border-radius: 5px;
}
</style>
</head>
<body>
<!-- Button to open the modal -->
<button type="button" onclick="openModal()">Open Modal</button>
<!-- The Modal -->
<div id="myModal" class="modal">
<!-- Modal content -->
<div class="modal-content">
<span onclick="closeModal()" class="close">×</span>
<p>This is a modal window. Click the 'x' to close it.</p>
</div>
</div>
<script>
// Function to display the modal
function openModal() {
document.getElementById('myModal').style.display = 'block';
}
// Function to close the modal
function closeModal() {
document.getElementById('myModal').style.display = 'none';
}
// Close the modal if the user clicks outside of it
window.onclick = function(event) {
var modal = document.getElementById('myModal');
if (event.target == modal) {
closeModal();
}
};
</script>
</body>
</html>
Output :
And when we click on the button a modal window is open. and when we click on the ‘x‘ modal window is close.
And when we click on the ‘x‘ modal window is close.
6. Toggle Buttons :<button> elements can be used to create toggle buttons that switch between different states.
Example:
<!DOCTYPE html>
<html lang="en">
<head>
    <meta charset="UTF-8">
    <meta name="viewport" content="width=device-width, initial-scale=1.0">
    <title>Toggle Button Example</title>
    <style>
        /* Style for the active state */
        .active {
            background-color: green;
            color: white;
        }
    </style>
</head>
<body>
    <!-- Toggle Button -->
    <button type="button" id="toggleButton" onclick="toggleState()">Toggle</button>
    <script>
        // Function to toggle the state
        function toggleState() {
            var button = document.getElementById('toggleButton');
            button.classList.toggle('active');

            // You can perform additional actions based on the state
            if (button.classList.contains('active')) {
                // State is active
                console.log('Button is active');
            } else {
                // State is inactive
                console.log('Button is inactive');
            }
        }
    </script>
</body>
</html>
Output :
And when we click on the toggle button it will change.
7. Interactive Features : Used to create interactive features on a webpage, such as interactive quizzes, games, or any functionality that requires user interaction.
Example :
<!DOCTYPE html>
<html lang="en">
<head>
    <meta charset="UTF-8">
    <meta name="viewport" content="width=device-width, initial-scale=1.0">
    <title>Interactive Button Example</title>
</head>
<body>
    <!-- Interactive Button -->
    <button type="button" id="interactiveButton" onclick="handleClick()">Click me</button>
    <script>
        // Function to handle button click
        function handleClick() {
            var button = document.getElementById('interactiveButton');
            // Toggle background color on each click
            button.style.backgroundColor = (button.style.backgroundColor === 'blue') ? 'green' : 'blue';
            // Display a message in the console
            console.log('Button clicked!');
        }
    </script>
</body>
</html>
Output :
And when we click on the button it will change the color.
and
8. Styling and UI Design :‘<button>‘ elements can be styled using CSS to enhance their appearance and match the overall design of the website.
The ‘<body>‘ element in HTML represents the main content of an HTML document. It contains all the content that is intended to be displayed to the user, such as text, images, links, forms, and other HTML elements. The ‘<body>‘ element is a required part of every HTML document and is located within the ‘<html>‘ element.
Here is a basic example of an HTML document structure with the ‘<body>‘ element: :
The ‘<body>‘ element is crucial for organizing and presenting the actual content of the webpage, and it plays a central role in the overall structure of an HTML document.
Uses of <body> tag :
1. Organizing Document Structure: The ‘<body>‘ tag contains all the elements that make up the structure and content of a webpage. This includes headings, paragraphs, images, links, lists, forms, and other HTML elements that contribute to the presentation of information.
<body>
  <h1>Main Heading</h1>
  <p>This is a paragraph of text.</p>
  <img src="image.jpg" alt="An example image">
  <a href="https://example.com">Visit Example.com</a>
  <!-- Other content goes here -->
</body>
2. Defining Sections: Different sections of a webpage, such as headers, footers, main content, navigation menus, and sidebars, are typically organized within the ‘<body>‘ tag. This helps in structuring the document and makes it more semantically meaningful.
<body>
  <header>
    <!-- Header content goes here -->
  </header>
  <nav>
    <!-- Navigation menu goes here -->
  </nav>
  <main>
    <!-- Main content goes here -->
  </main>
  <footer>
    <!-- Footer content goes here -->
  </footer>
</body>
3. Creating Links: Links to external resources, documents, or other web pages are often defined within the <body> tag using anchor ‘<a>‘ elements.
<body>
  <a href="https://example.com">Visit Example.com</a>
  <!-- Other content goes here -->
</body>
4. Embedding Media: Images, videos, audio, and other media elements are placed within the ‘<body>‘ tag to be displayed as part of the webpage’s content.
<body>
  <img src="image.jpg" alt="An example image">
  <video src="video.mp4" controls></video>
  <!-- Other content goes here -->
</body>
5. Form Elements: Forms for user input, such as login forms, contact forms, or search forms, are typically placed within the ‘<body>‘ tag.
<body>
  <form action="/submit" method="post">
    <!-- Form elements go here -->
  </form>
  <!-- Other content goes here -->
</body>
6. Scripting and Interactivity: JavaScript code, which provides interactivity and dynamic behavior to the webpage, is often included within the ‘<body>‘ tag.
<body>
  <script>
    // JavaScript code for interactivity
  </script>
  <!-- Other content goes here -->
</body>