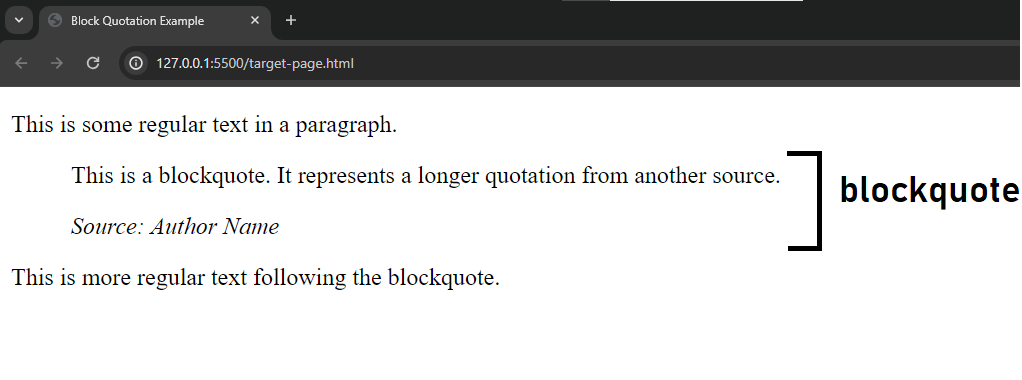
The ‘<blockquote>‘ element in HTML is used to represent a section that is a longer quotation or citation from another source. It is commonly used to format block-level quotations in a way that visually distinguishes them from the surrounding text. The content inside the ‘<blockquote>‘ element is typically indented or styled differently to indicate that it is a quote.
Here is an example :
<!DOCTYPE html>
<html lang="en">
<head>
  <meta charset="UTF-8">
  <meta name="viewport" content="width=device-width, initial-scale=1.0">
  <title>Block Quotation Example</title>
</head>
<body>
  <p>This is some regular text in a paragraph.</p>
  <blockquote>
    <p>This is a blockquote. It represents a longer quotation from another source.</p>
    <cite>Source: Author Name</cite>
  </blockquote>
  <p>This is more regular text following the blockquote.</p>
</body>
</html>
Output :
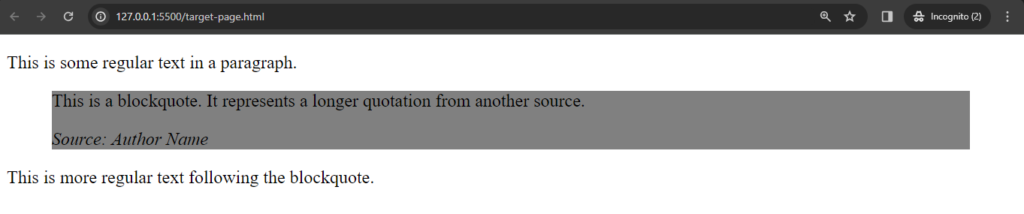
Let take an another example and apply css on it for better understanding.
<!DOCTYPE html>
<html lang="en">
<head>
  <meta charset="UTF-8">
  <meta name="viewport" content="width=device-width, initial-scale=1.0">
  <title>Block Quotation Example</title>
</head>
<style>
  blockquote{
    background-color: gray;
  }
</style>
<body>
  <p>This is some regular text in a paragraph.</p>
  <blockquote>
    <p>This is a blockquote. It represents a longer quotation from another source.</p>
    <cite>Source: Author Name</cite>
  </blockquote>
  <p>This is more regular text following the blockquote.</p>
</body>
</html>
In this example we apply background colour on the blockquote and the content are under ‘<blockquote>‘ tag is shows in grey colour.
Uses of <blockquote> tags :
1. Quoting External Sources: Use‘<blockquote>‘to encapsulate a quoted passage along with the author’s name or the source of the quote.
<blockquote>
  <p>“To be yourself in a world that is constantly trying to make you something else is the greatest accomplishment.”</p>
  <cite>Ralph Waldo Emerson</cite>
</blockquote>
2. Quoting Poetry or Verse: Use ‘<blockquote>‘ can be used to format and present poetry or verse within an HTML document.
<blockquote>
  <p>Two roads diverged in a wood, and I—</p>
  <p>I took the one less traveled by,</p>
  <p>And that has made all the difference.</p>
  <cite>Robert Frost, "The Road Not Taken"</cite>
</blockquote>
3. Attributing Content in Blog Posts or Articles: Use ‘<blockquote>‘ to attribute and format a quoted passage within an article or blog post.
<article>
  <h2>Exploring the Wonders of Nature</h2>
  <p>...</p>
  <blockquote>
    <p>The world is full of magic things, patiently waiting for our senses to grow sharper.</p>
    <cite>W.B. Yeats</cite>
  </blockquote>
  <p>...</p>
</article>
4. Highlighting Important Text: Use ‘<blockquote>‘ can be used to visually distinguish and highlight important information within a document.
<blockquote>
  <p>Important Note: Please make sure to save your work before exiting the application.</p>
</blockquote>
5. Styling Quotes with CSS: You can use CSS to style <blockquote> elements, applying custom formatting, such as indentation or borders, to make quoted content stand out visually.
Remember that while ‘<blockquote>‘ is a useful tool for marking up quoted content, it’s often accompanied by the ‘<cite>‘ element to provide proper attribution. Additionally, styling should be applied through CSS for visual presentation.
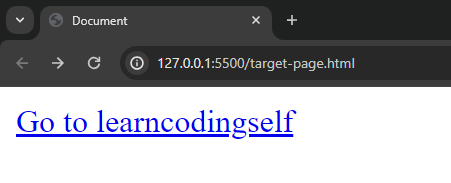
The ‘<base>‘ tag specifies the base URL and/or target for all relative URLs in a document. The ‘<base>‘ tag must have either an ‘href‘ or a target attribute present, or both. There can only be one single ‘<base>‘ element in a document, and it must be inside the ‘<head>‘ element.
‘href‘: Specifies the base URL. All relative URLs in the document will be resolved with respect to this ‘base‘ URL.
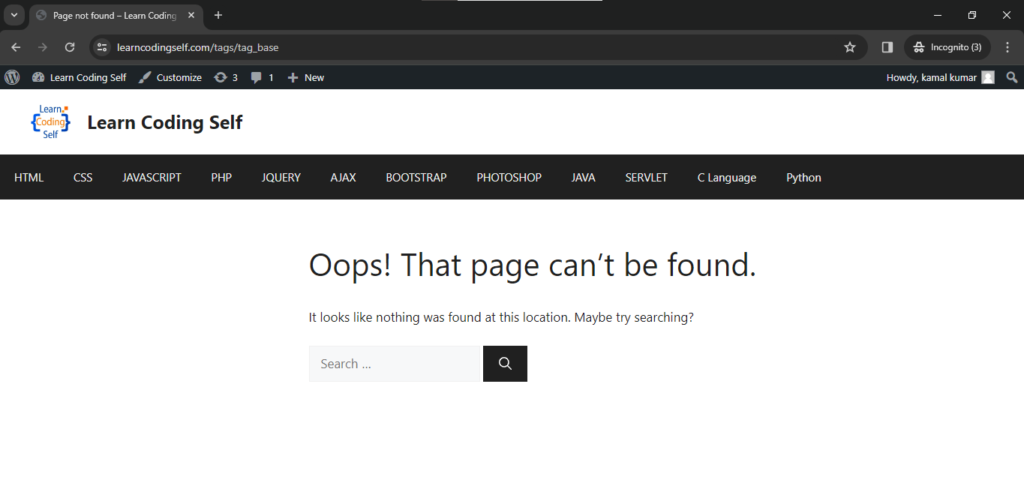
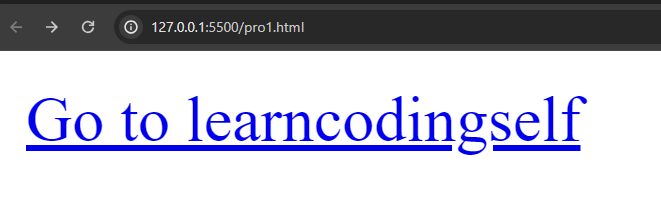
And when we click on the “Go to learncodingself” then learncodingself website is open.
Uses of <base> tag :
1.Resolving Relative URLs: The primary purpose of the <base> tag is to set a base URL for resolving relative URLs. This includes URLs used in hyperlinks (<a>), images (<img>), scripts (<script>), and other elements. By setting a base URL, you can simplify the use of relative paths throughout the document.
2. Changing the Base URL Dynamically: You can dynamically change the base URL using JavaScript. This can be useful in scenarios where the base URL needs to be adjusted based on certain conditions or user interactions.
3. Working with Different Environments:The <base> tag can be handy when transitioning a website between different environments, such as development, testing, and production. It allows you to easily update the base URL, and all relative links will adapt accordingly.
The ‘<b>‘ tag is used in HTML to represent text that should be displayed in bold. When you enclose text within ‘<b>‘ tags, it instructs the browser to render that text with a bold font style.
Here is an example :
<!DOCTYPE html>
<html lang="en">
<head>
    <meta charset="UTF-8">
    <meta name="viewport" content="width=device-width, initial-scale=1.0">
    <title>Document</title>
</head>
<body>
    <p>Hello my name is <b>Kamal Kumar</b>. I am a <b>teacher</b>. </p>
</body>
</html>
Output :
In above example we write “kamal kumar” and “teacher” in ‘<b>‘ so they are in bold.
We ca use it in for making heading, highlighting keywords and styling text etc.
The ‘<audio>‘ element in HTML is used to embed audio content, such as music or sound effects, directly into a web page. It allows you to include audio files that can be played by the user’s browser without the need for external plugins. The ‘<audio>‘ element supports various audio formats, and you can provide multiple sources to ensure compatibility with different browsers.
Here is a basic example of how the ‘<audio>‘ element is typically used :
The controls attribute adds audio playback controls, such as play, pause, and volume.
The ‘<source>‘ element inside ‘<audio>‘ specifies the audio file (audio-file.mp3) and its type (audio/mp3). You can provide multiple ‘<source>‘ elements with different file formats to ensure compatibility across browsers.
Additional attributes you can use with the <audio> element include:
autoplay: Automatically starts playing the audio when the page loads.
loop: Causes the audio to loop continuously.
preload: Specifies whether the audio should be preloaded. Values can be “auto,” “metadata,” or “none.”
The ‘<aside>‘ element in HTML is used to define content that is tangentially related to the content around it. It is typically used for content such as sidebars, pull quotes, or information that is not directly related to the main content but provides additional context or supplementary material. The content within an ‘<aside>‘ element is considered separate from the main content but should still be related in some way.
Syntax for ‘<aside>’ tag :
<aside>
        <p>Lorem ipsum dolor sit amet consectetur adipisicing elit. Quas consectetur sunt </p>
</aside>
Uses of <aside> tag :
1.Sidebar Content : Often used for sidebars that contain additional information, links, or related content.
2. Pull Quotes : Used for quoting a relevant piece of text that is pulled out from the main content for emphasis.
Example :
<!DOCTYPE html>
<html lang="en">
<head>
    <meta charset="UTF-8">
    <meta name="viewport" content="width=device-width, initial-scale=1.0">
    <title>Document</title>
</head>
<body>
    <aside>
        <blockquote>
            <p> "A journey of a thousand miles begins with a single step." </p>
        </blockquote>
    </aside>
</body>
</html>
Output :
3. Advisory Information : Provides additional information, tips, or warnings related to the main content.
<!DOCTYPE html>
<html lang="en">
<head>
    <meta charset="UTF-8">
    <meta name="viewport" content="width=device-width, initial-scale=1.0">
    <title>Document</title>
</head>
<body>
    <aside>
        <p>Tip: Remember to save your work frequently.</p>
    </aside>
</body>
</html>
The ‘<article>‘ element in HTML is like a container for a complete and standalone piece of content, such as a news article, blog post, or forum post. The ‘<article>‘ element wraps the entire content of the article. In this tag we make article in parts which contain :
Header : It contains the heading of the article.
Section : It contain main body of the article.
Footer : It contain the end part of article.
Here is an example :
<!DOCTYPE html>
<html lang="en">
<head>
    <meta charset="UTF-8">
    <meta name="viewport" content="width=device-width, initial-scale=1.0">
    <title>Your Article Title</title>
</head>
<body>

    <article>
        <header>
            <h1>Your Article Title</h1>
            <p>Published on <time datetime="2024-01-12">January 12, 2024</time></p>
        </header>

        <section>
            <p>Lorem ipsum dolor, sit amet consectetur adipisicing elit. Nisi rerum voluptas, quos odio, velit, reprehenderit perspiciatis doloribus eius obcaecati soluta ipsa! Facere cum quo officia expedita libero molestiae odit illo!</p>
        </section>

        <footer>
            <p>Author: John Doe</p>
            <p>Contact: john.doe@example.com</p>
        </footer>
    </article>

</body>
</html>
Output :
Use of <article> tag in HTML :
Here are some key uses of the ‘<article>‘ element :
1. Organizing Content :
It provides a way to structure your HTML documents, making them more organized and semantically meaningful.
Helps differentiate a specific piece of content from other parts of the document.
2. Search Engine Optimization (SEO) :
Search engines use semantic HTML to understand the structure and context of content on a webpage.
Proper use of the ‘<article>‘ element can improve the search engine ranking of individual pieces of content.
3. Accessibility :
Assists screen readers and other assistive technologies in understanding the document structure.
Enhances accessibility for users with disabilities by providing a clear indication of standalone content.
4. Syndication :
The ‘<article>‘ element signals to web crawlers and syndication tools that the enclosed content is a complete and shareable unit.
Useful for websites that distribute content to various platforms or aggregators.
5. Clear Document Structure :
Helps developers and designers create a clear and logical structure for their web pages.
Improves code readability and maintenance by encapsulating related content within the ‘<article>‘ element.
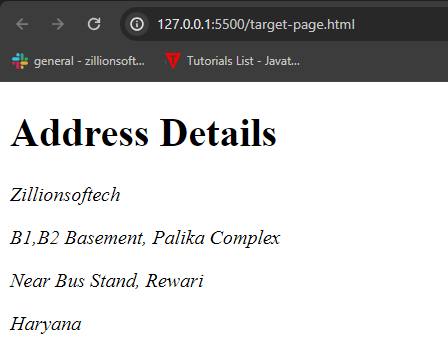
The ‘<address>‘ element in HTML is used for presenting contact information on a webpage. It includes details like names, addresses, and phone numbers. Typically placed in a footer, it helps structure and style contact details for authors, businesses, or organizations.
In this example, the ‘<address>‘ element contains various paragraphs with contact information. The browser may render this information in a way that indicates it’s contact information, such as italicizing the text.
We can uses the <address> tag in :
Contact Information: The primary purpose of the ‘<address>‘ element is to display contact details. This can include names, physical addresses, phone numbers, email addresses, or any other relevant contact information.
Author Information: When used within an article or blog post, the ‘<address>‘element can be employed to display information about the author.
Footer Information: It’s common to include contact information in the footer of a webpage, and the ‘<address>‘ element can be useful for structuring and styling this information consistently.
Business Information: In the context of a business website, the ‘<address>‘ element can be used to present details such as the company’s name, address, and contact information.
And many other place in which we can define address of place, person, company etc. we can use ‘<address>’ tag.
Additionally, styling and presentation of the content within the ‘<address>‘ element can be customized using CSS to suit the design requirements of a website.
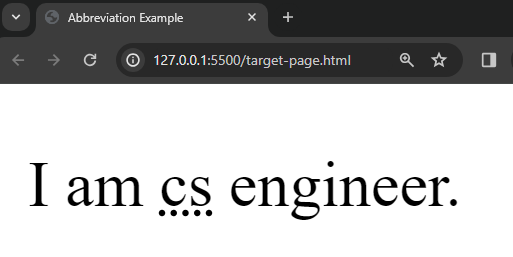
The ‘<abbr>‘ element in HTML is used to define an abbreviation or an acronym. It is typically employed to provide a full explanation or expansion of an abbreviation or acronym, which can be displayed to users as a tooltip when they hover over the abbreviated text.
We abbreviate ‘cs’ in the program. So it is underline.
And when we move curser into ‘cs‘ it give the full form of that word.
Like this
Uses of <abbr> tag
We can use the ‘<abbr>’ tag in a way that provides additional information about the abbreviated term.
Here are some common uses and benefits of the ‘<abbr>‘ element:
1. Accessibility: It enhances accessibility by providing a way to include full explanations or expansions of abbreviations or acronyms. Screen readers can use the information in the title attribute to convey the full meaning to users.
2. Tooltip Information: When users hover over the abbreviated text, most browsers display a tooltip with the full expansion or explanation. This helps users understand the meaning of the abbreviation without leaving the page.
3. Styling and Consistency: Using ‘<abbr>‘ allows for consistent styling of abbreviations throughout a document or website. You can apply styles specifically to ‘<abbr>‘elements if needed.
<!DOCTYPE html>
<html lang="en">
<head>
<meta charset="UTF-8">
<meta name="viewport" content="width=device-width, initial-scale=1.0">
<title>Abbreviation Example</title>
<style>
abbr {
    border-bottom: 1px dotted #000;
    cursor: help;
}
</style>
</head>
<body>
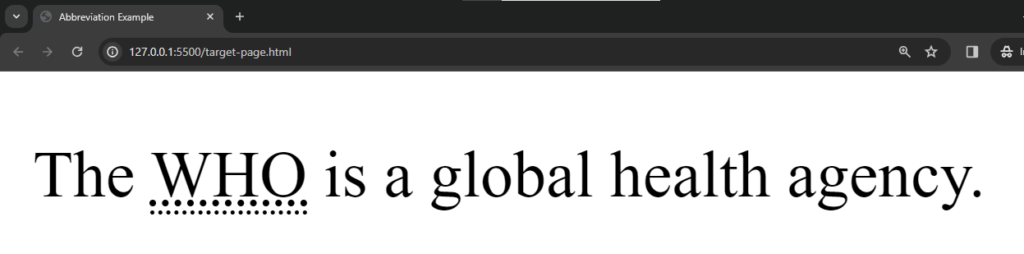
<p>The <abbr title="World Health Organization">WHO</abbr> is a global health agency.</p>
</body>
</html>
Output :
In this ‘WHO’ is double under line.
4. Search Engine Optimization (SEO): Search engines may use the full expansion of abbreviations to better understand the content of a webpage, potentially improving SEO.
5. Internationalization: It can be beneficial when dealing with international audiences, where abbreviations and acronyms may have different meanings in different regions or languages.
6. Technical Documentation: In technical documentation or articles, the ‘<abbr>‘ element is often used to clarify technical terms or abbreviations that might be unfamiliar to readers.
7. Legal and Formal Documents: In legal or formal documents, where precision in language is crucial, the ‘<abbr>‘ element can be used to clarify the meaning of specific terms.
Here’s a more comprehensive example:
<!DOCTYPE html>
<html lang="en">
<head>
  <meta charset="UTF-8">
  <meta name="viewport" content="width=device-width, initial-scale=1.0">
  <title>Abbreviation Example</title>
</head>
<body>
    <p>The <abbr title="Internet Engineering Task Force">IETF</abbr> is responsible for developing and promoting voluntary Internet standards.</p>
</body>
</html>
In this example, the ‘<abbr>‘ element is used to provide the expansion of the acronym “IETF,” and the tooltip will appear when a user hovers over it.
In HTML, the ‘<a>‘ (anchor) tag is primarily used to create hyperlinks, allowing you to link to other web pages, resources, or locations within the same page. Here are some common uses of the ‘<a>‘ tag:
1.Creating Hyperlinks to Other Web Pages:
Creating hyperlinks to other web pages using the ‘<a>‘ tag is a fundamental use of this HTML element. Here is an example
In this example:
The ‘<a>‘ tag is used to create a hyperlink.
The ‘href‘ attribute contains the URL (Uniform Resource Locator) of the destination web page (in this case, “https://learncodingself.com“).
The text between the opening ‘<a>‘ tag and the closing ‘</a>‘ tag (“Visit learncodingself.com”) is the clickable link text that users see.
When users click on the link, the browser navigates to the specified URL, in this case, taking them to the “https://learncodingself.com” website.
For example:
Making a program and add a link of learncodingself by using a ‘<a>‘ tag.
When we click on the link we go to learncodingself website.
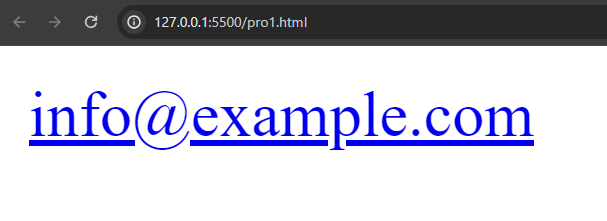
2.Linking to Email Addresses:
To create a hyperlink that links to an email address using the ‘<a>‘ tag, you can use the ‘mailto‘ attribute in the ‘href‘ attribute. Here’s an example:
In this example:
The ‘<a>‘ tag is used to create a hyperlink.
The ‘href‘ attribute contains the email address prefixed with “mailto:” (e.g., “mailto:info@example.com“).
The text between the opening ‘<a>‘ tag and the closing ‘</a>‘ tag (“Send an email“) is the clickable link text that users see.
When users click on the link, it typically opens their default email client with a new message window, pre-populated with the specified email address. Users can then compose and send an email to the provided address.
Remember that the user’s device needs to have an email client configured for this functionality to work as intended.
To create a hyperlink that links to a phone number using the ‘<a>‘ tag, you can use the ‘tel‘ attribute in the ‘href‘ attribute. Here’s an example:
In this example:
The ‘<a>‘ tag is used to create a hyperlink.
The ‘href‘ attribute contains the phone number prefixed with “tel:” (e.g., “tel:+1234567890”).
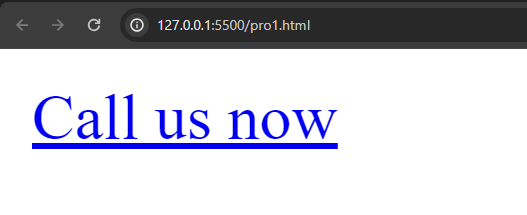
The text between the opening ‘<a>‘ tag and the closing ‘</a>‘ tag (“Call us at (123) 456-7890”) is the clickable link text that users see.
When users click on the link, it typically prompts their device to initiate a phone call to the specified number. Note that the ‘+‘ sign before the phone number is a convention for indicating the international dialing code.
It’s important to be aware that not all devices or browsers may support the initiation of phone calls directly from web pages, and the user’s device needs to have phone capabilities for this functionality to work as intended.
To create a hyperlink that links to a file download using the ‘<a>‘ tag, you can use the ‘href‘ attribute to specify the path to the file, and you can include the ‘download‘ attribute to prompt the browser to download the file instead of navigating to it. Here’s an example:
In this example:
The ‘<a>‘ tag is used to create a hyperlink.
The ‘href‘ attribute contains the path to the file you want users to download (e.g., “path/to/file.pdf”).
The ‘download‘ attribute is included, which prompts the browser to download the linked file instead of navigating to it.
The text between the opening ‘<a>‘ tag and the closing ‘</a>‘ tag (“Download PDF”) is the clickable link text that users see.
When users click on the link, the browser will initiate the download of the specified file. Make sure to replace “path/to/file.pdf” with the actual path to your file.
Keep in mind that the ‘download‘ attribute might not be supported by all browsers or might be limited in certain situations, and the availability of the file for download depends on the user’s permissions and the server’s configuration.
To create internal links within the same page using the ‘<a>‘ tag in HTML, you can use the ‘href‘ attribute with a corresponding anchor ‘<a>‘ or other HTML elements that have an ‘id‘ attribute. Here’s an example:
In this example:
The HTML document contains several sections, each with its own heading (e.g., ‘<h2>‘) and content.
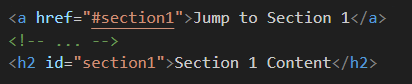
Each heading has an ‘id‘ attribute, which provides a unique identifier for that section (e.g., ‘id="section1"‘).
The links are created using the ‘<a>‘ tag with the ‘href‘ attribute set to the corresponding section’s ‘id‘ value (e.g., ‘href="#section1"‘).
When users click on these links, the browser will scroll to the respective section on the same page.
This allows users to navigate within the same page by clicking on the internal links. Make sure the ‘id‘ values in the ‘href‘ attribute match the ‘id‘ values of the sections you want to link to.
For example:
Making a program to creating internal links within the same page.
<!DOCTYPE html>
<html lang="en">
<head>
<meta charset="UTF-8">
<meta name="viewport" content="width=device-width, initial-scale=1.0">
<title>Internal Links</title>
</head>
<body>
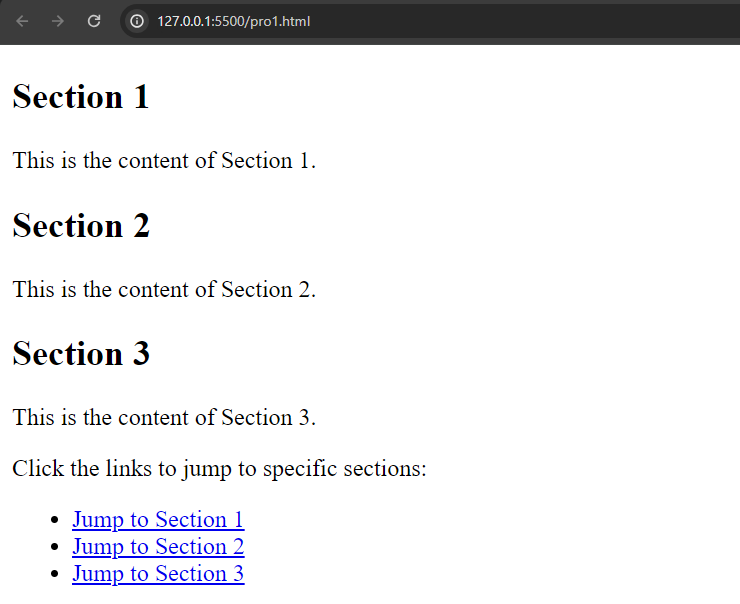
<h2 id="section1">Section 1</h2>
<p>This is the content of Section 1.</p>
<h2 id="section2">Section 2</h2>
<p>This is the content of Section 2.</p>
<h2 id="section3">Section 3</h2>
<p>This is the content of Section 3.</p>
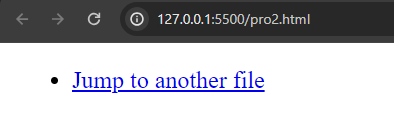
<p>Click the links to jump to specific sections:</p>
<ul>
<li><a href="#section1">Jump to Section 1</a></li>
<li><a href="#section2">Jump to Section 2</a></li>
<li><a href="#section3">Jump to Section 3</a></li>
</ul>
</body>
</html>
After run the program.
When we click on the link of section1 we go to the start of section 1. Similarly in section 2 and section 3.
6.Opening Links in a New Window or Tab:
To open links in a new window or tab in HTML, you can use the ‘target‘ attribute within the ‘<a>‘ (anchor) tag. The ‘target‘ attribute specifies where the linked document should be opened. Here’s an example:
In this example:
The ‘<a>‘ tags are used to create hyperlinks.
The ‘href‘ attribute contains the URLs of the linked documents (replace them with your actual URLs).
The ‘target="_blank"‘ attribute is used to instruct the browser to open the linked document in a new window or tab.
When users click on these links, the linked documents will open in new browser windows or tabs, depending on the user’s browser settings.
Keep in mind that forcing links to open in new windows or tabs can be considered a user experience decision, and it’s generally recommended to let users control how links are opened. Opening links in new windows or tabs can affect the user’s browsing experience, so use this feature judiciously.
For example:
Making a program to Opening Links in a New Window or Tab.
<!DOCTYPE html>
<html lang="en">
<head>
    <meta charset="UTF-8">
    <meta name="viewport" content="width=device-width, initial-scale=1.0">
    <title>Open Links in a New Window or Tab</title>
</head>
<body>
   <a href="https://learncodingself.com" target="_blank">Open learncodingself</a><br>
</body>
</html>
After run the program.
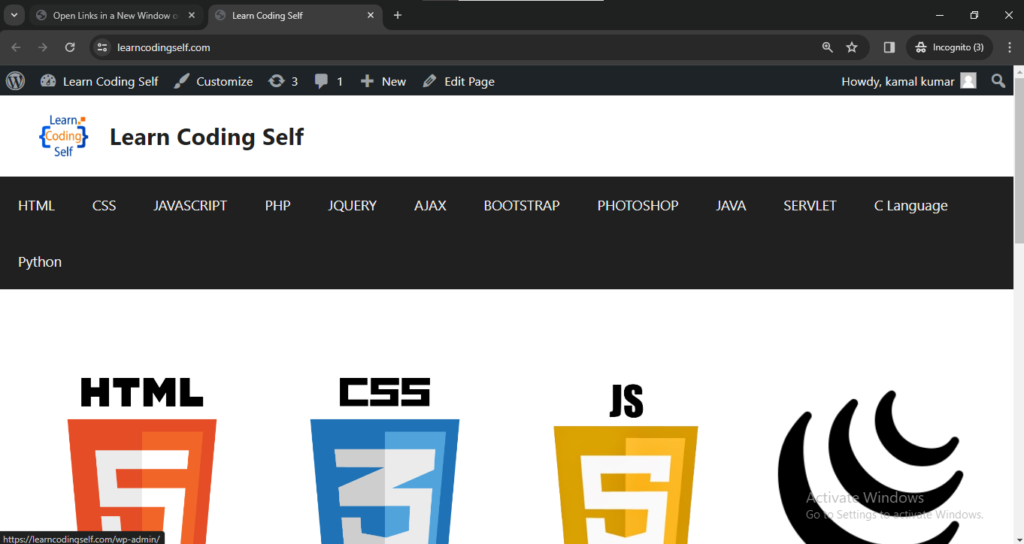
When we click on the link new tab is open.
In above picture website is open in new tab.
7.Linking to a Specific Part of Another Page (using anchors):
Linking to a specific part of another page using anchors involves creating a hyperlink to a specific section or element on the target page. This is done by using the ‘href‘ attribute with the URL of the target page followed by the anchor (‘#‘) and the identifier of the target section or element.
Here’s an example:
In this example:
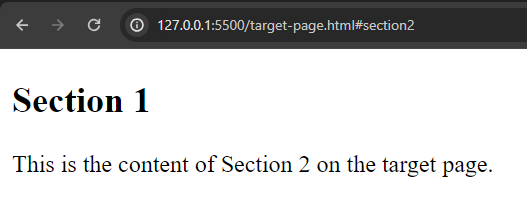
The target page (‘target-page.html‘) contains sections with unique identifiers (‘id‘) such as “section2” and “section3”.
The source page (‘source-page.html‘) has links that include the target page’s URL followed by ‘#‘ and the section’s identifier.
When users click on these links on the source page, they will be directed to the corresponding sections on the target page. Ensure that the identifiers in the links match the ‘id‘ attributes of the target sections on the target page.
For example:
Making a program to Linking to a Specific Part of Another Page (using anchors).
This is a target-page.html file.
<!DOCTYPE html>
<html lang="en">
<head>
    <meta charset="UTF-8">
    <meta name="viewport" content="width=device-width, initial-scale=1.0">
    <title>Target Page</title>
</head>
<body>
    <h2 id="section1">Section 1</h2>
    <p>This is the content of Section 2 on the target page.</p>
</body>
</html>
And then we click on the link we get the data which is store in the another file.
8.Adding a Title to the Link (Tooltip):
You can add a title to a link, which serves as a tooltip, by using the ‘title‘ attribute within the ‘<a>‘ (anchor) tag. Here’s an example:
In this example:
The ‘<a>‘ tag is used to create a hyperlink.
The ‘href‘ attribute contains the URL of the linked page (replace it with your actual URL).
The title attribute is used to specify the tooltip text (e.g., title="Visit Example.com").
The text between the opening ‘<a>‘ tag and the closing ‘</a>‘ tag (“Link with Tooltip“) is the clickable link text that users see.
When users hover over the link, the browser will display the tooltip with the specified text. Keep in mind that the appearance and behavior of tooltips can vary slightly between different browsers and devices.
For example:
Making a program to adding a title to the link (Tooltip)).
<!DOCTYPE html>
<html lang="en">
<head>
<meta charset="UTF-8">
<meta name="viewport" content="width=device-width, initial-scale=1.0">
<title>Link with Tooltip</title>
</head>
<body>
<p>Hover over the link to see the tooltip:</p>
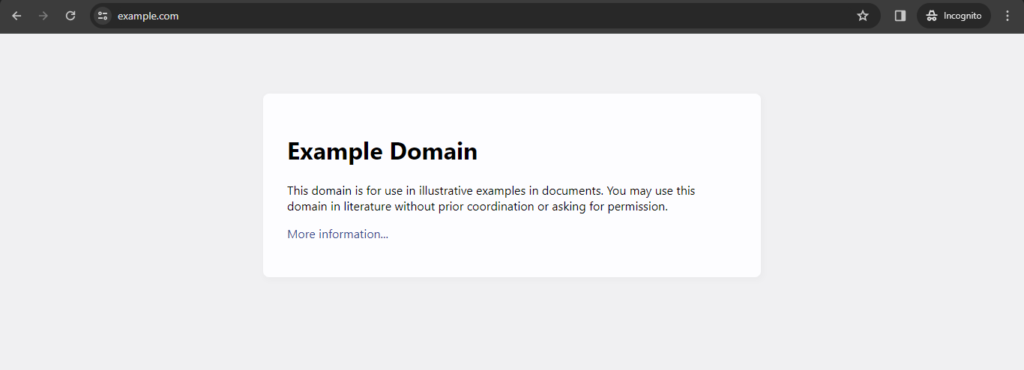
<a href="https://www.example.com" title="Visit Example.com">Link with Tooltip</a>
</body>
</html>
When we run the program.
When we click on the link.
and then we click on the more information a new page is open.
In this post we will understand simple examples of html to get start with html.
1. Understand the Basics
<!DOCTYPE html>
<html>
<head>
<title>Learn Coding Self</title>
</head>
<body>
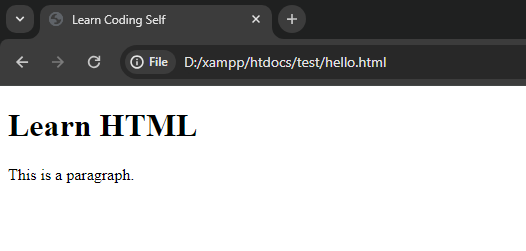
<h1>Learn HTML</h1>
<p>This is a paragraph.</p>
</body>
</html>
<html>: The root element.
<head>: Contains meta-information about the HTML document.
<title>: Sets the title of the webpage (displayed on the browser tab).
<body>: Contains the content of the webpage.
<h1>, <p>: Heading and paragraph tags, respectively.
Save the above content in a file with .html eg. “hello.html” extension and double click on the file
Output of the simple html program
2. Add Images
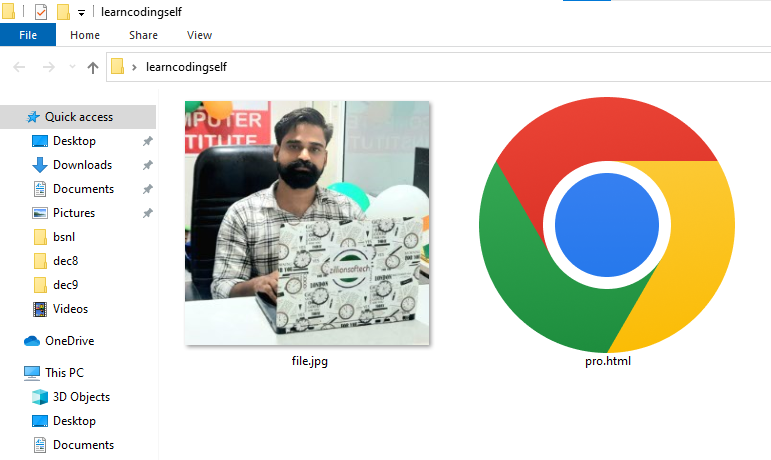
First of all create a folder and put an image into that folder and open that folder using any text editor make sure you html file and image file should be in the same folder.
In the above image we have image “file.jpg” and html file “pro.html” inside a folder named “learncodingself”.
<img src="file.jpg" alt=""> this line of code is responsible to display image on the web page
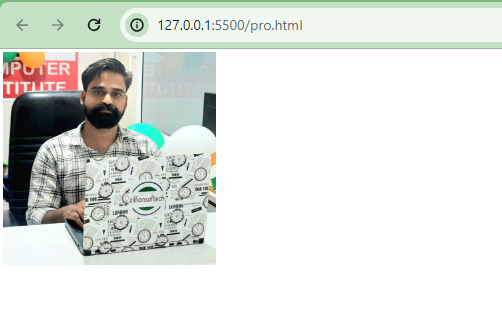
Output of the add image program
3. Creating Links in HTML
<!DOCTYPE html>
<html>
<head>
    <title>Links</title>
</head>
<body>
    <a href="https://www.google.com">Go To Google</a>
    <a href="https://www.facebook.com">Go To Facebook</a>
</body>
</html>
<a href="https://www.google.com">Go To Google</a>
    <a href="https://www.facebook.com">Go To Google</a>
here the href=”address” attribute holds the address where we want to send the user when a link is clicked e.g. in this example when user click on the Go To Google text then user will reach to the www.google.com website.
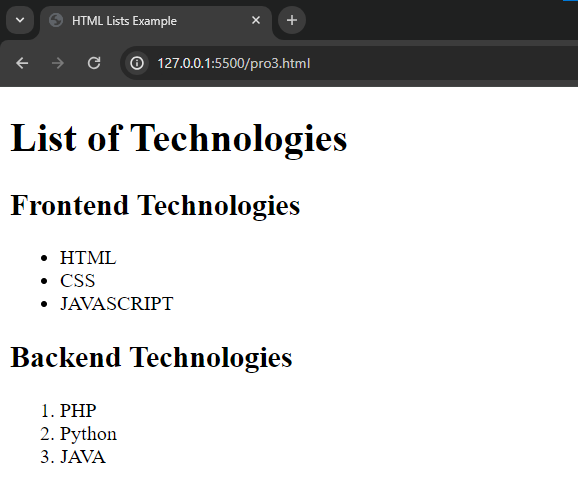
<ul>unordered list</ul> : display items without order
<ol> ordered list </ol> : display items in order
<li> list items </li> : to display single item in order list or unorder list